Tips for Maximizing Wedding Lighting
Here you are planning your wedding. You’ve sifted through beautiful photos online, chosen your wedding photographer, and are now hoping that they will bust out some ninja magic and deliver a full set of outstanding images. And yes, while a good photographer will utilize natural light throughout the day to create beautiful images, there are some additional ways you can help ensure you get the wedding photos of your dreams; the biggest of which is choosing photo locations with good lighting!
There are many decisions you can make during the wedding planning process that will help ensure your day is well lit from a photography standpoint. Understanding good lighting is pivotal in helping you make those decisions. As a general guideline, the harsh sun isn’t ideal for photography as it creates unflattering shadows and blown-out highlights. Below we will talk about the basic timeline of a wedding and how good lighting plays a part. We’ll also cover some tips you can implement to help create beautiful wedding photos.
1. Getting Ready – The Beginning of Your Day
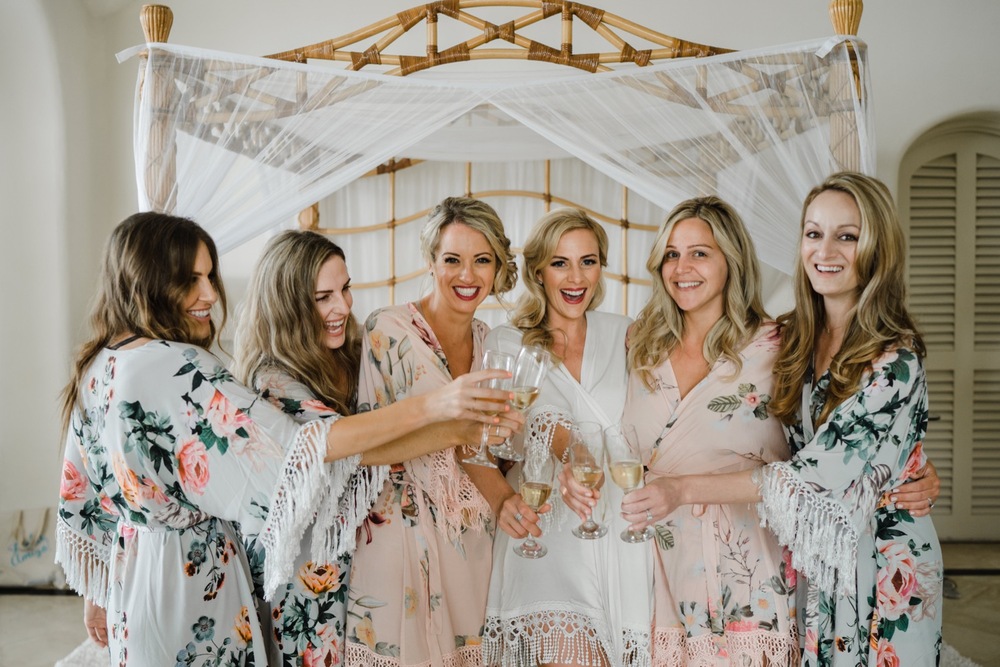
Deciding where to get ready for your wedding can be a challenge. You want a space that is large and comfortable, one that offers good lighting and is also photo-worthy. Plus, this space’s lighting isn’t just important for your photographer. It is also important for your makeup artist, so a lot depends on choosing the best space possible.
As a rule of thumb natural light is always best. It creates a soft, true-to-life color while overhead lighting can cast unflattering shadows and affect skin hues. Try to find a room that has plenty of natural light from large windows. Your getting ready photos are usually taken in the morning hours so if you can, find a room that is located on the east side of the building to allow for the most sunlight to shine through. This may be a room you never thought to get ready in, like the living room. Or, it may require some furniture to be moved out of the way to get closer to the light source. If there is really no possible way to utilize natural light, we can find a place outside to finish up any last-minute details.
2. Couple Portraits – What Creates a Great Portrait?
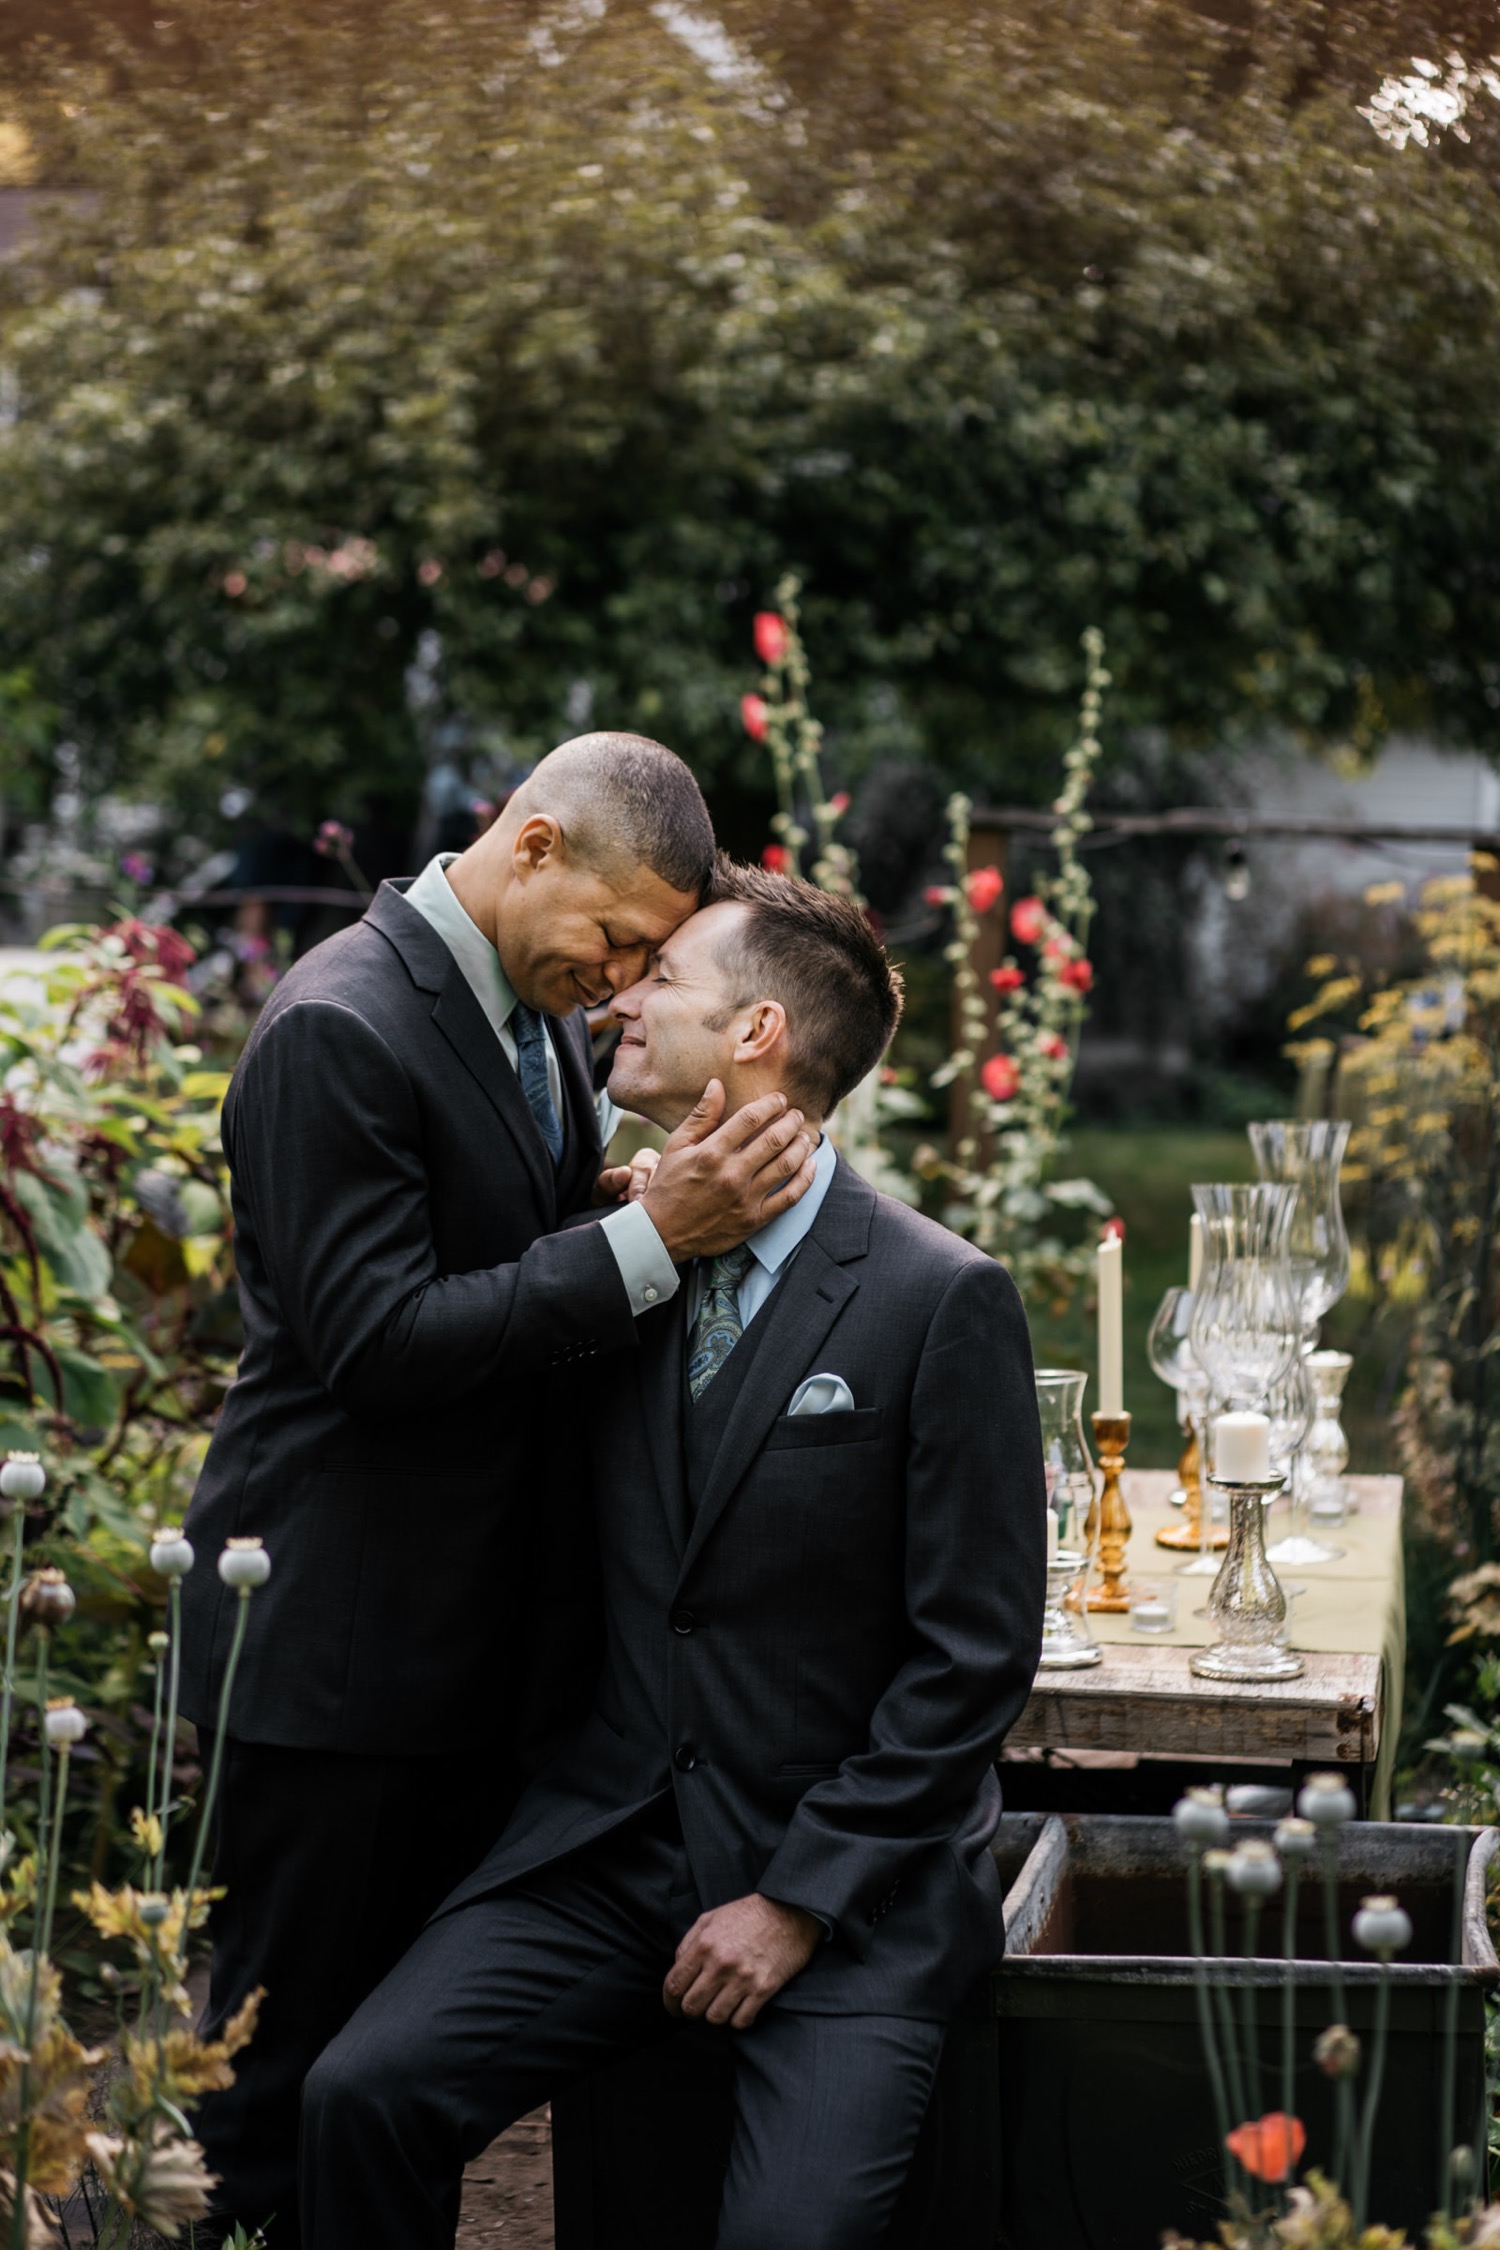
Ask any wedding photographer what their ideal wedding consists of and one of the things they will usually mention is beautiful natural light. Natural light is a key component in most of the best portraits out there. There is a softness and beauty in using natural light that cannot be replicated with flash or other light sources.
Your portrait photos as a couple are some of the most treasured photos of your day. They are the photos that will be printed, framed, and hung on your walls; the photos you will cherish and treasure most for years to come. If possible, try to plan your couple’s portraits around the day’s best lighting and remember that location matters. Your location will affect the lighting and the overall outcome of your photos.
If your photos will be taken during midday, I will do my best to find a shady area under a tree or a beautifully lit window to take your portrait photos. We can also try to schedule a little bit of time for sunset photos after dinner to catch that dusk light. This photo time is one of my favorites because not only are portraits after dinner always more relaxed but this time of day is also what we photographers call the golden hour. Golden hour never disappoints and provides the perfect lighting so I recommend at least 30 minutes for couple portraits, but an hour is best if your timeline allows.
Pro Tip – check out www.timeanddate.com. This is a great resource to determine the sun’s location and timing for any day of the year.
3. Ceremony – What Kind of Photos Do You Imagine?
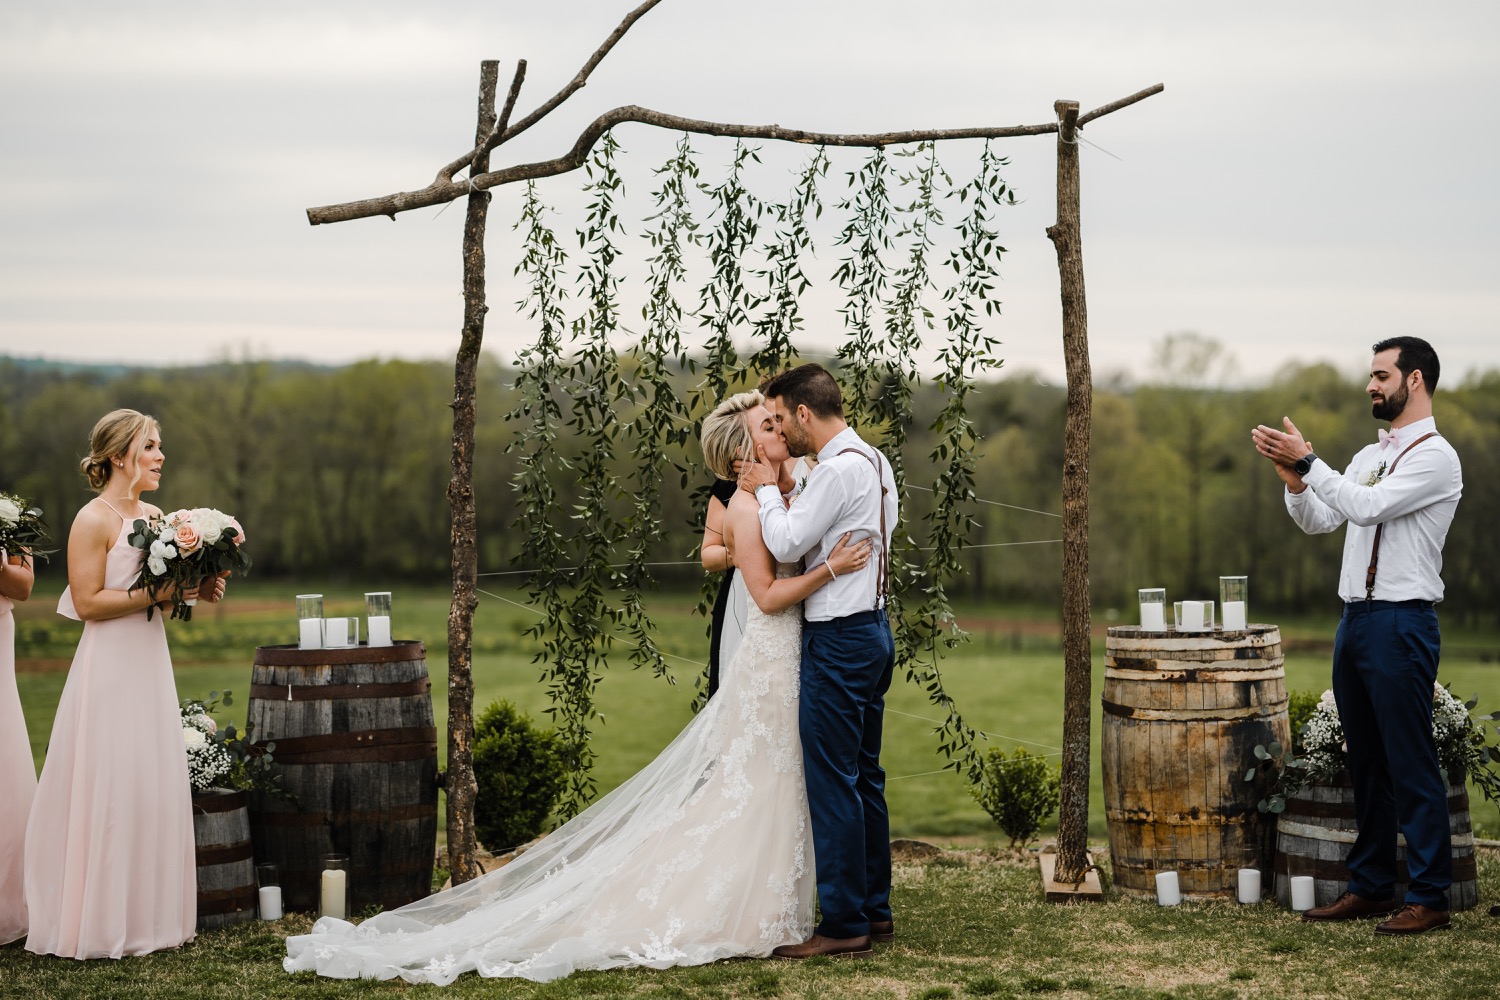
What is the vibe of your wedding? Is it soft and romantic, light and airy, or bold and edgy? Depending on the theme and vibe of your day, you can create ceremony photos that reflect that. Below are a few lighting examples and approximate timing for when to plan your ceremony.
– Bright and vibrant – Shot around mid-day
To get the best photos with this type of lighting both the bride and groom should remain fully in the sun or fully in the shade. Tree cover and obstructions can create what’s called dappled light. This is not a flattering look as it’s very uneven and busy looking in photos.
– Soft and warm – Shot around sunset (golden hour) or in the shade
This is a photographer’s dream for a wedding ceremony and for portraits. And bonus, you get to stay out of the hot, melty, summer sun!
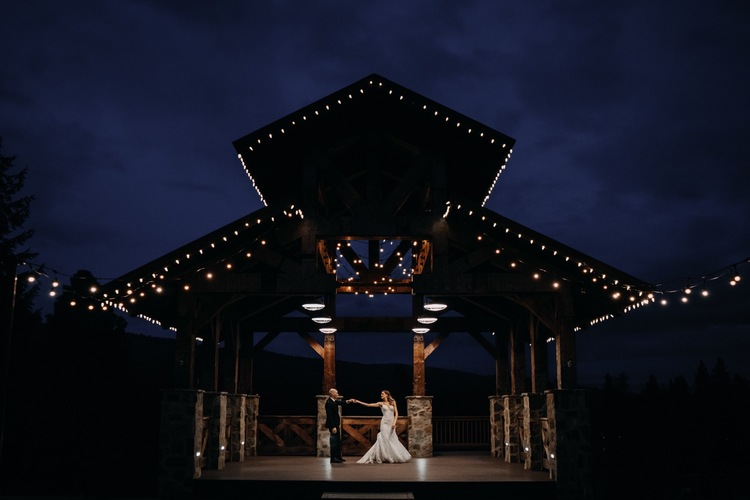
– Dark and moody – Shot indoors or after sunset (blue hour)
These photos are great if your ceremony is taking place in a church or cathedral. They are usually balanced with candlelight for a soft glow. Another less common photography lighting term is blue hour which is the 20 – 30 minutes after sunset. This time creates a deep, dark blue color which is great for those moody shots.
My best advice is to find some example ceremony photos you like and send them to me. I will do my best to let you know what time of day the photos were taken which can help you during your planning process.
4. Reception – It’s Party Time!
Details
There are a few things to consider in regard to lighting at your reception. There are the details (tables, flowers, cake, etc.) and, as with portraits, these photos typically do best in a naturally lit area. You want to make sure to leave your photographer enough time to capture these details before the reception area is filled with guests so that can be after photos are done right before the ceremony or during cocktail hour. Really anytime prior to sunset is best.
Head Table
Take a look at the surroundings near your head table. What is the lighting like where you will be sitting? Are you backlit? Will the sun set right on your faces during speeches literally blinding you from the person speaking? If so, consider moving your head table into a more evenly lit area. You want to make sure that you have adequate lighting for speeches and first dances as well as those moments can provide some beautiful candid shots of laughter and tears.
Artificial Lighting
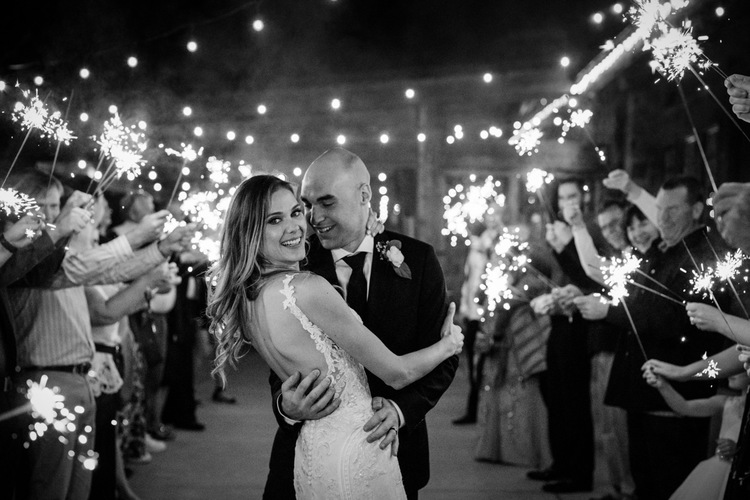
The last thing to consider about reception lighting is artificial lighting. If you are working with a wedding planner, talk to them about the aspects or events you would like highlighted. If your venue is super dark it can be a great idea to set the tone by adding in twinkle lights, uplighting, or candles. This will soften the environment and allow you to set the desired mood while creating as much ambient lighting as possible.
For first dances especially it is a great idea to request that only white light be used and discourage the use of any additional colors at this time; no one wants a green spotted face during those first dances! Fun lighting can be used later on during the open dancing. At this point in the reception, I will also use the camera flash as needed to fill in where the lighting may be a little too sparse.
Lighting is a powerful tool that has the ability to create and change the mood of the environment. Lighting impacts everything from start to finish of your wedding day. Try to focus on the most important moments of your day and prioritize scheduling those events so they use lighting to your advantage. As your photographer, I promise to do my best to handle any lighting situation we encounter, but the more you can plan and make decisions that prioritize your lighting, the better your wedding photos will be.
comments